
Creating an Assessment
Using the assessment wizard, selecting a template, naming the assessment
3 min read•Article 1 of 7 in Assessments
Creating an Assessment
Assessments are the core of your compliance workflow. Here's how to create one.
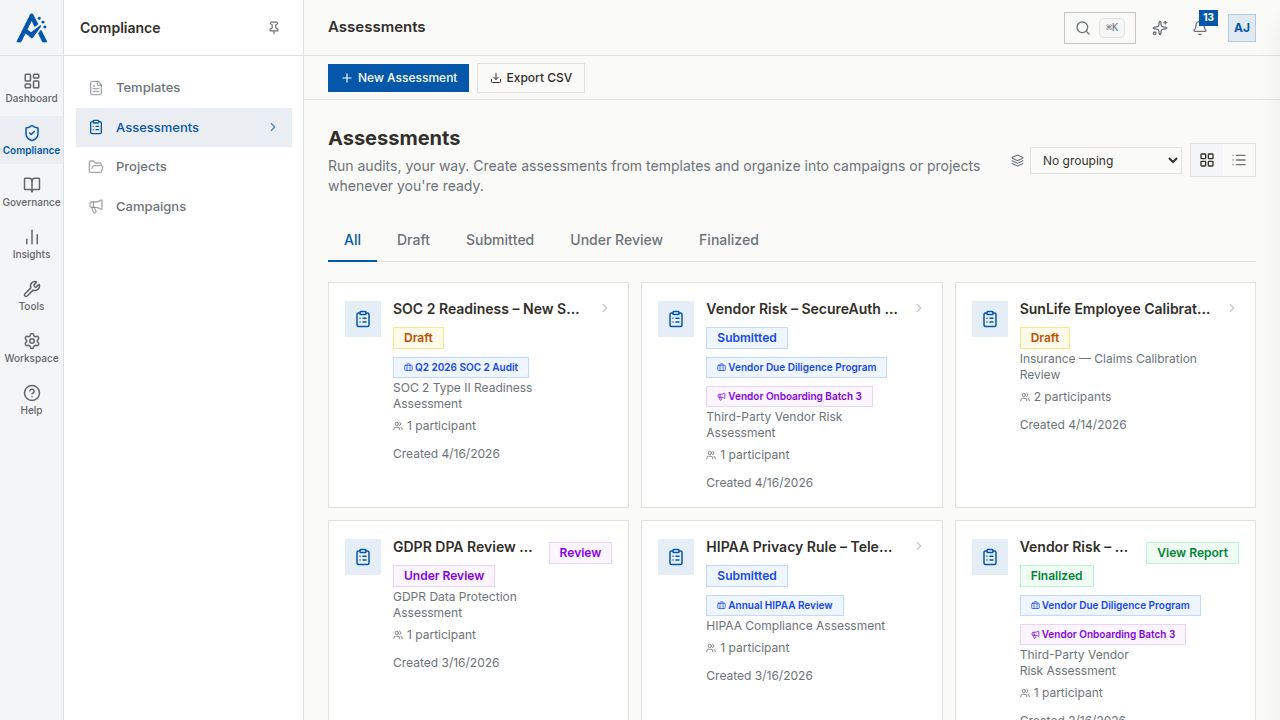
Using the Assessment Wizard
1.Navigate to Assessments in the sidebar
2.Click New Assessment
3.The wizard guides you through setup:
Step 1: Select a Template
Choose from your published templates. The template determines the structure, questions, and scoring criteria.
Step 2: Name and Describe
- •Enter a meaningful assessment name (e.g., "Q1 2025 SOC 2 Assessment")
- •Add a description explaining the scope and purpose
- •Set a due date for respondent submissions
Step 3: Configure Settings
- •Enable or disable AI scoring assistance
- •Set notification preferences
- •Choose whether to allow late submissions
Step 4: Assign to Project (Optional)
Link the assessment to an existing project or create a new one for organizational purposes.
After Creation
Your new assessment is created in Draft status. From here you can:
- •Assign respondents
- •Review the questions inherited from the template
- •Update settings before launching
- •Move it to In Progress when ready to collect responses
Tips
- •Use clear naming conventions that include the time period and framework
- •Set realistic due dates — give respondents enough time to gather evidence
- •Assign the assessment to a project for better organization